No products in the cart.
News
How to Fix Broken Headphones
Headphones, like any electronic device, can experience wear and tear or accidental damage. But before you discard your favorite pair, consider trying to fix them yourself. Many common headphone problems can be resolved with simple DIY repairs, saving you money and extending the life of your headphones. This guide provides step-by-step instructions and helpful tips on how to fix common headphone issues.

Common Headphone Problems and How to Fix Them
1. Broken Wires
Problem: The audio cuts out or only plays in one ear due to a broken wire in the cable.
Solution:
- Locate the break: Gently bend and flex the cable to find the location of the break. You may hear a crackling sound or notice a change in audio when you manipulate the damaged area.
- Cut the cable: Using wire cutters, carefully cut the cable on both sides of the break.
- Strip the wires: Use a wire stripper to remove a small section of insulation from the ends of the cut wires, exposing the inner copper wires.
- Twist the wires together: Match the corresponding colored wires (red to red, black to black, etc.) and twist them together tightly.
- Solder the connections: Use a soldering iron to solder the twisted wires together, creating a secure connection. If you’re not comfortable with soldering, you can use electrical tape to secure the connections, but soldering provides a more reliable and durable fix.
- Test the headphones: Connect your headphones to your audio source and test the sound to ensure the repair was successful.
2. Loose Connections
Problem: The audio cuts out intermittently due to a loose connection in the audio jack, headband, or earcups.
Solution:
- Check the audio jack: Ensure the audio jack is fully plugged into your device. If it’s loose or damaged, you may need to replace it.
- Tighten screws: If the connection in the headband or earcups is loose, try tightening the screws that hold them together.
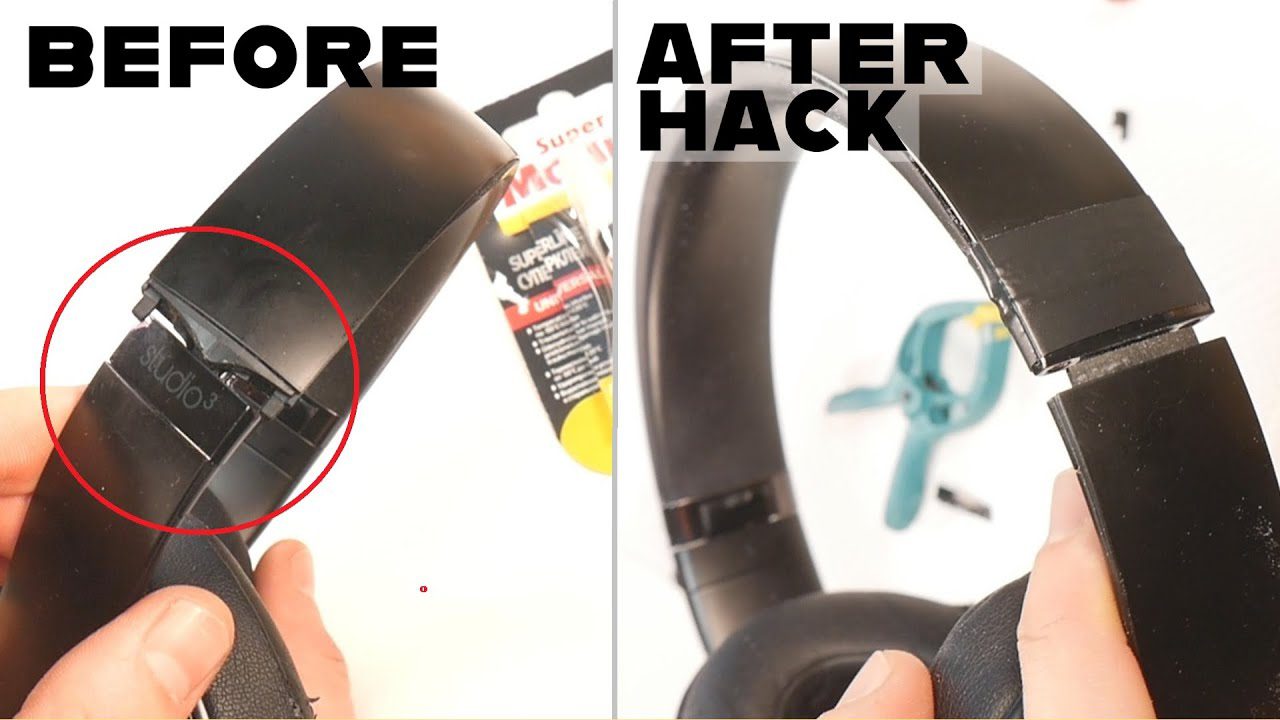
- Apply glue: If the connection is broken or cracked, you may be able to repair it with glue. Use a strong adhesive that’s suitable for the material of your headphones.
3. Damaged Earcups
Problem: The earcups are cracked, broken, or detached from the headband.
Solution:
- Repair with glue: If the earcups are cracked or have minor damage, you may be able to repair them with glue.
- Replace the earcups: If the earcups are severely damaged or detached, you may need to replace them. Check if replacement earcups are available for your headphone model.
4. Faulty Drivers
Problem: The audio sounds distorted, crackly, or is missing in one ear due to a faulty driver.
Solution:
- Replace the driver: If you’re comfortable with electronics repair, you can try replacing the faulty driver. You’ll need to find a replacement driver that’s compatible with your headphone model.
- Seek professional repair: If you’re not comfortable with electronics repair, it’s best to seek professional help to replace the driver.
Additional Tips
- Consult the User Manual: Refer to your headphone’s user manual for specific instructions on disassembly and repair.
- Use the Right Tools: Having the right tools, such as a soldering iron, wire cutters, and screwdrivers, can make the repair process easier and more efficient.
- Take Your Time: Be patient and careful during the repair process to avoid causing further damage.
- Seek Professional Help If Needed: If you’re unsure about a repair or encounter a complex issue, don’t hesitate to seek professional help from an electronics repair shop.
Conclusion
Many common headphone problems can be fixed with simple DIY repairs, saving you money and extending the life of your headphones. By following the instructions and tips in this guide, you can troubleshoot and resolve common issues, keeping your headphones in working order and enjoying your favorite audio content for longer.
Have you successfully repaired your headphones? Share your experiences and tips in the comments below!
Related Articles
- Headphone Repair: Troubleshooting Common Issues
- How to Clean and Maintain Your Headphones
- Understanding Headphone Specifications
